Create a Candidate
To create a new candidate and add them to a candidate list, you must first search to see if the candidate exists in the database.
|
Note |
You are required to search for candidates first to see if they already exist in the database. Once you add a candidate to the system, there is no way to delete them. Make sure you want to add the candidate to the system prior to saving the new candidate profile. |
Search for a candidate
- View the desired candidate list.
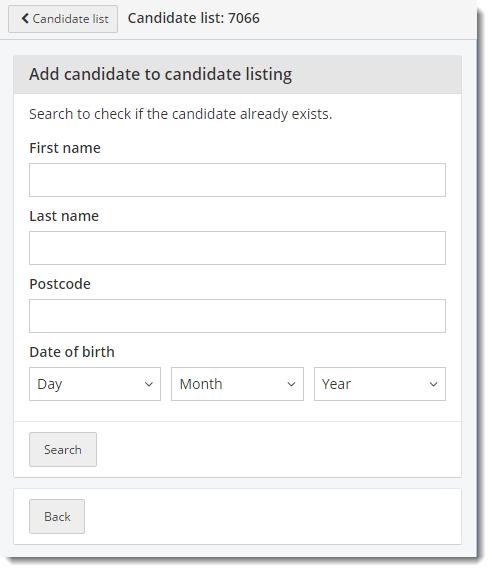
- Click the Add Candidate button. The Add candidate to candidate listing page appears.


|
Note |
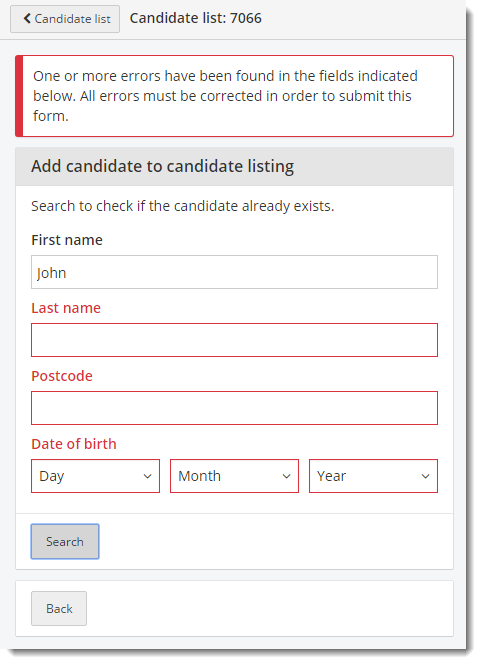
All four fields are required. |
- Enter the candidate's first name in the First name field.
|
Note |
You must type in the exact First name and Last name or the search will not locate the candidate. Partial matches are not located in the search. |
- Enter the candidate's last name in the Last name field.
- Enter the candidate's zip code in the Postcode field.
- Enter the candidate's Date of birth by selecting the Day, Month, and Year from the drop-down lists.
- Click Search. Only candidates with a match to all four fields are returned in the search results.
If no candidates match the search criteria, a message states no candidates were found.
Create a new candidate
The Candidate details page opens. 

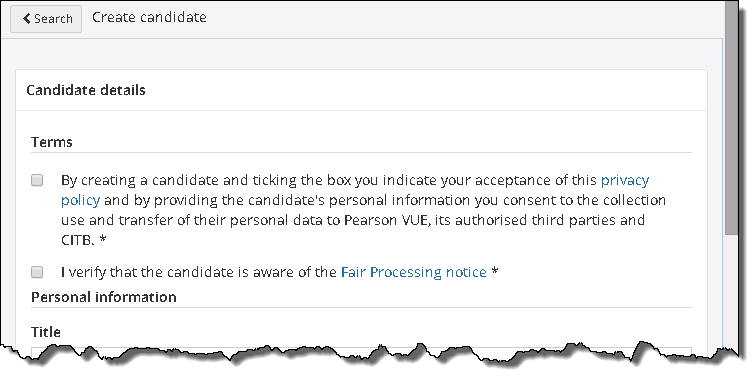
All mandatory fields are marked with an asterisk "*".
- See the remaining sections in this topic to complete the new candidate creation.
Agree to candidate Terms
To create a new candidate, you must agree to the privacy policy and verify that the candidate is aware of the Fair Processing notice. 

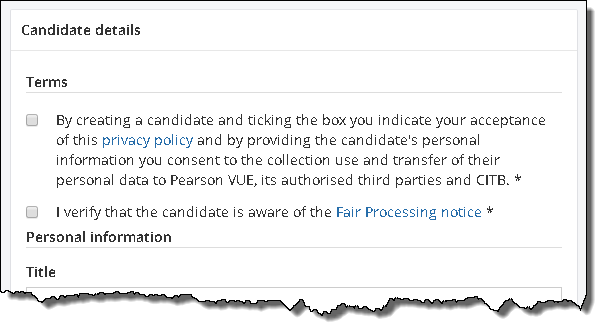
- Click the privacy policy check box.
- Click the Fair Processing notice check box.
Provide candidate personal information
You must provide information for all the mandatory fields. ![]()
![]()
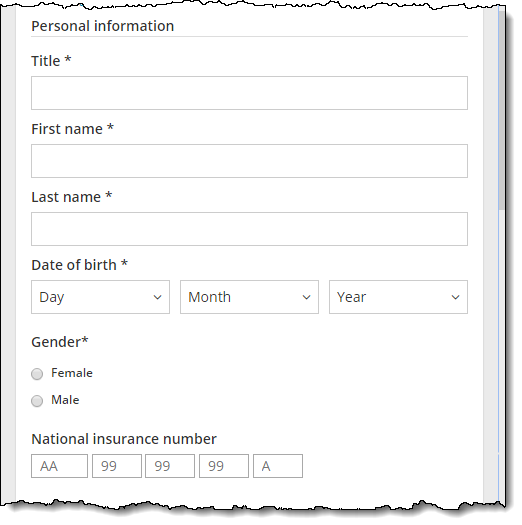
- Type the candidate's title in the Title field.
|
Note |
- Type the candidate's first name in the First name field.
- Type the candidate's last name in the Last name field.
- Select the candidate's Date of Birth from the Day, Month and Year drop-down lists.
- Click the appropriate Gender option button.
- Optionally provide the candidate's Title and National Insurance Number.
The National Insurance Number must be in the format of AA99999 or AA999999A. If it does not match either of these formats, an error message displays below the field. The system does not verify if you have entered a valid National Insurance Number, it only verifies if the format is valid. Once you have corrected the format the message disappears. ![]()
![]()

Provide candidate demographic information
You must provide information for all the mandatory fields. 

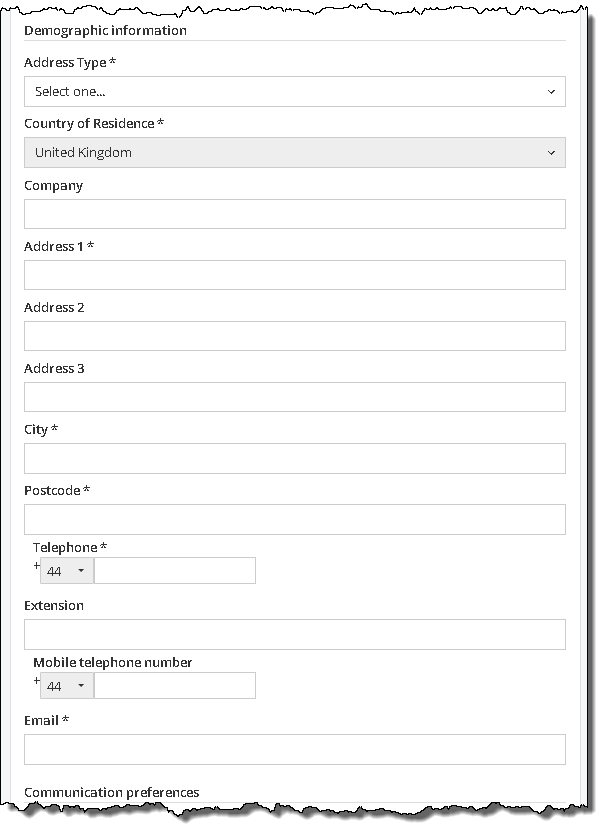
- Select Home or Work from the Address Type drop-down list.
- Currently the only Country of Residence allowed is United Kingdom.
- Type the candidate's Address 1.
- Type the candidate's City.
- Type the candidate's zip code in the Postcode field.
- Select the candidate's Country code from the Telephone drop-down list and type in their telephone number.
- Type the candidate's Email address.
The email address must be a valid email format. When you start typing in the Email field the error message appears. Once you have typed in a valid email format the message disappears. The system does not verify that you have typed in a valid email address, it just verifies that the format is valid. 


|
Note |
The Email address must adhere to the following characteristics:
|
- Optionally provide Company, Address 2, Address 3, Extension, and Mobile Telephone number fields.
Provide candidate communication preferences
You must identify how the candidate wishes to receive reminders about the testing event. 

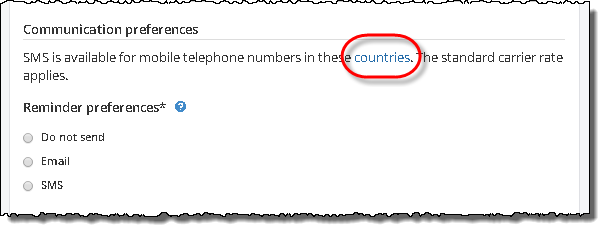
- If the candidate wishes to receive SMS (text) reminders, you must first check which countries may receive SMS reminders. Click the countries link in the first sentence below the Communications preferences heading.


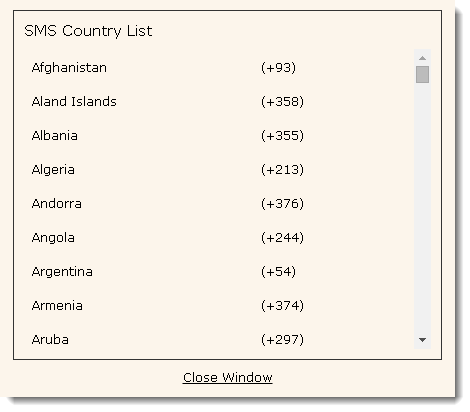
- Close the SMS Country List tab.
- Select the candidate's communication reminder preferences.
- Click the Reminder preferences help link. A message states a booking reminder will be sent to the candidate 24 hours prior to the scheduled test.


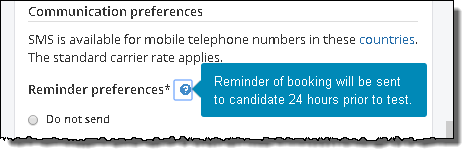
- Click the Reminder preferences help link again to close the message.
Provide candidate additional information
You must provide information for all the mandatory fields. ![]()
![]()
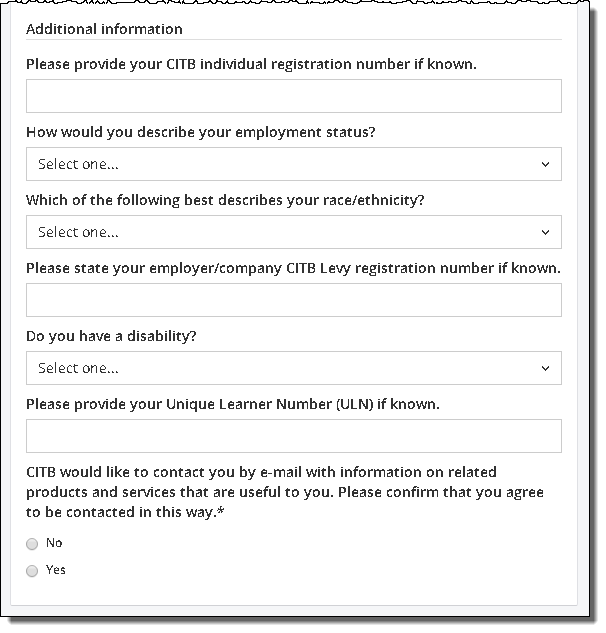
- Select Yes or No to identify if the candidate wishes to receive emails from CITB on related products and services.
- Optionally provide the candidate's individual registration number.
|
Note |
The individual registration number must adhere to the following characteristics:
|
- Optionally select the candidate's employment status from the drop-down list.
- Optionally select the candidate's race/ethnicity from the drop-down list.
- Optionally state the candidate's employer/company CITB Levy registration number.
|
Note |
The employer/company CITB Levy registration number must adhere to the following characteristics:
|
- Optionally select the candidate's disability status from the drop-down list.
- Optionally provide the candidate's Unique Learner Number (ULN).
|
Note |
The Unique Learner Number must adhere to the following characteristics:
|
Save the candidate profile
Once you have entered all the candidate's mandatory information, you may save the candidate profile.
The candidate is added to the candidate list. ![]()
![]()
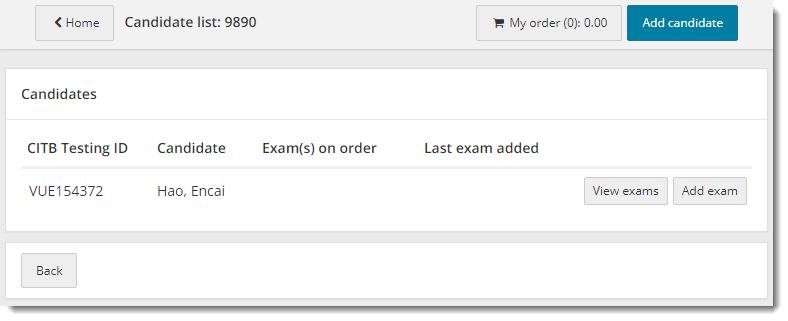
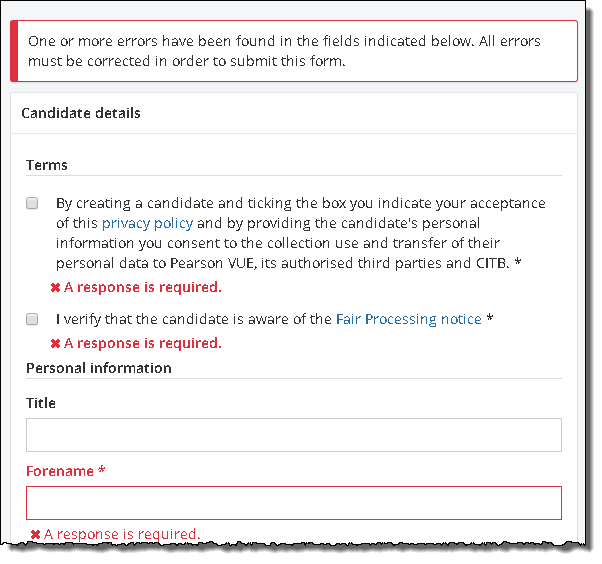
If any mandatory fields are not completed, an error message is displayed at the top of the Candidate details page. The mandatory field is highlighted in red and a message appears below the field stating a response is required. 
 You must supply the mandatory information and then save the candidate profile.
Pearson VUE Proprietary and Confidential
